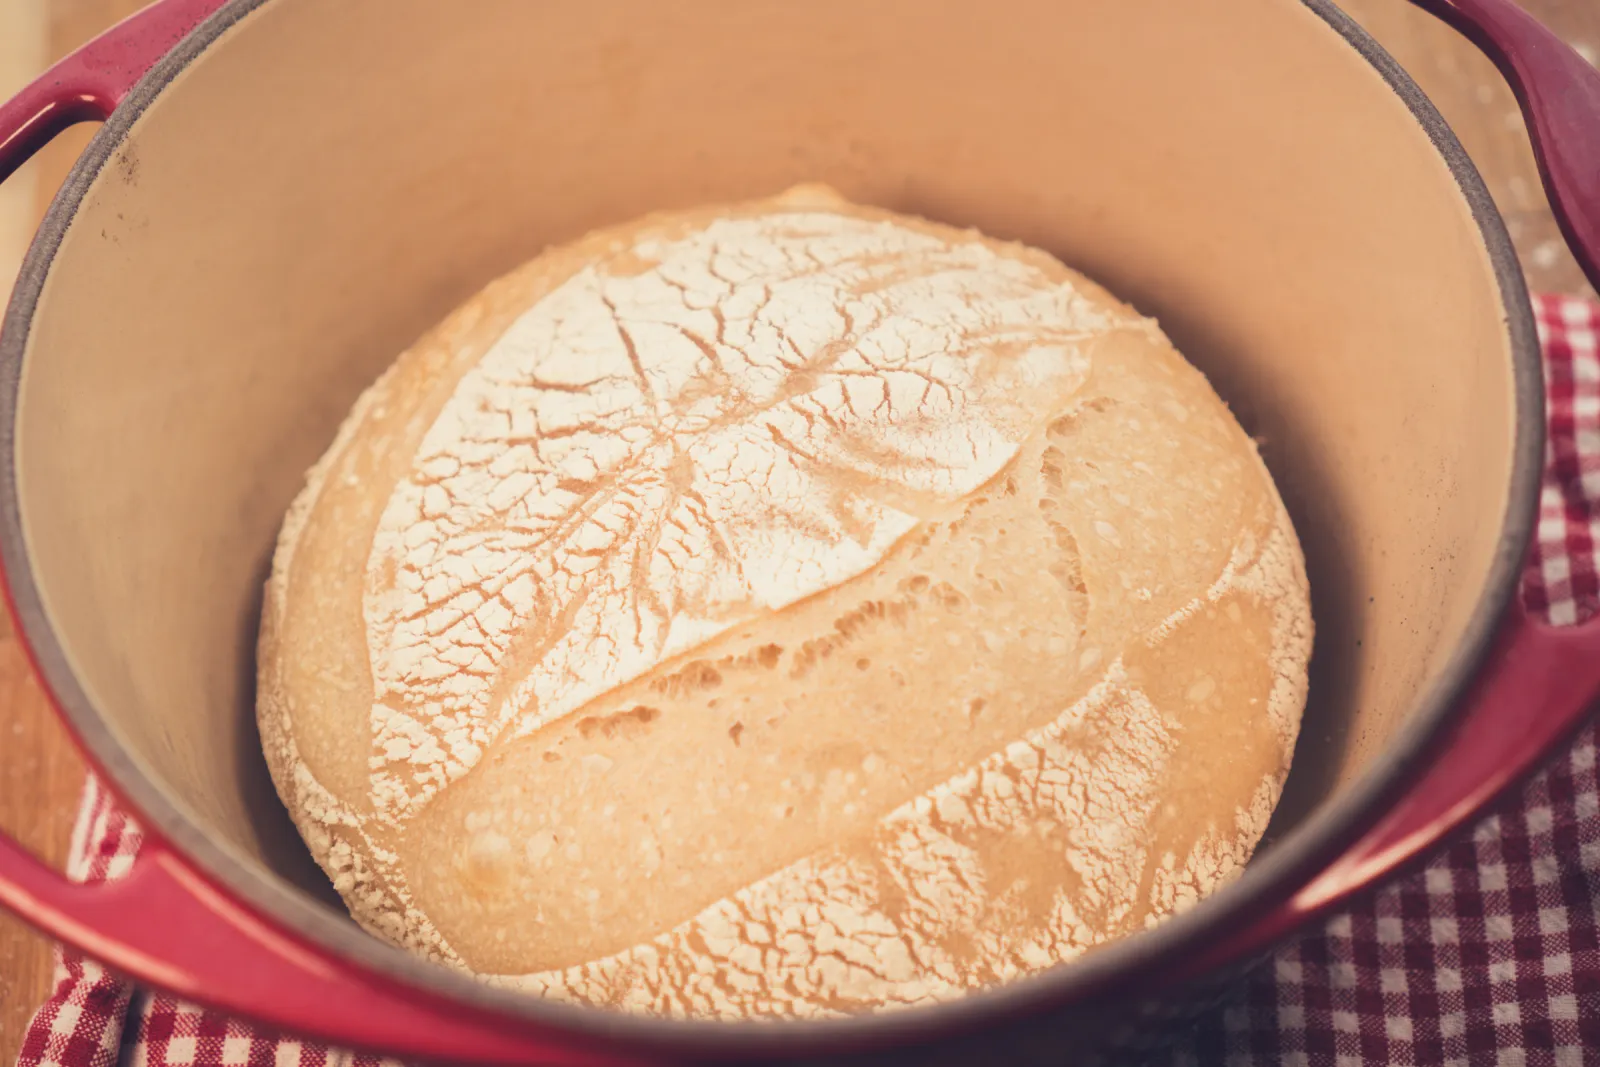
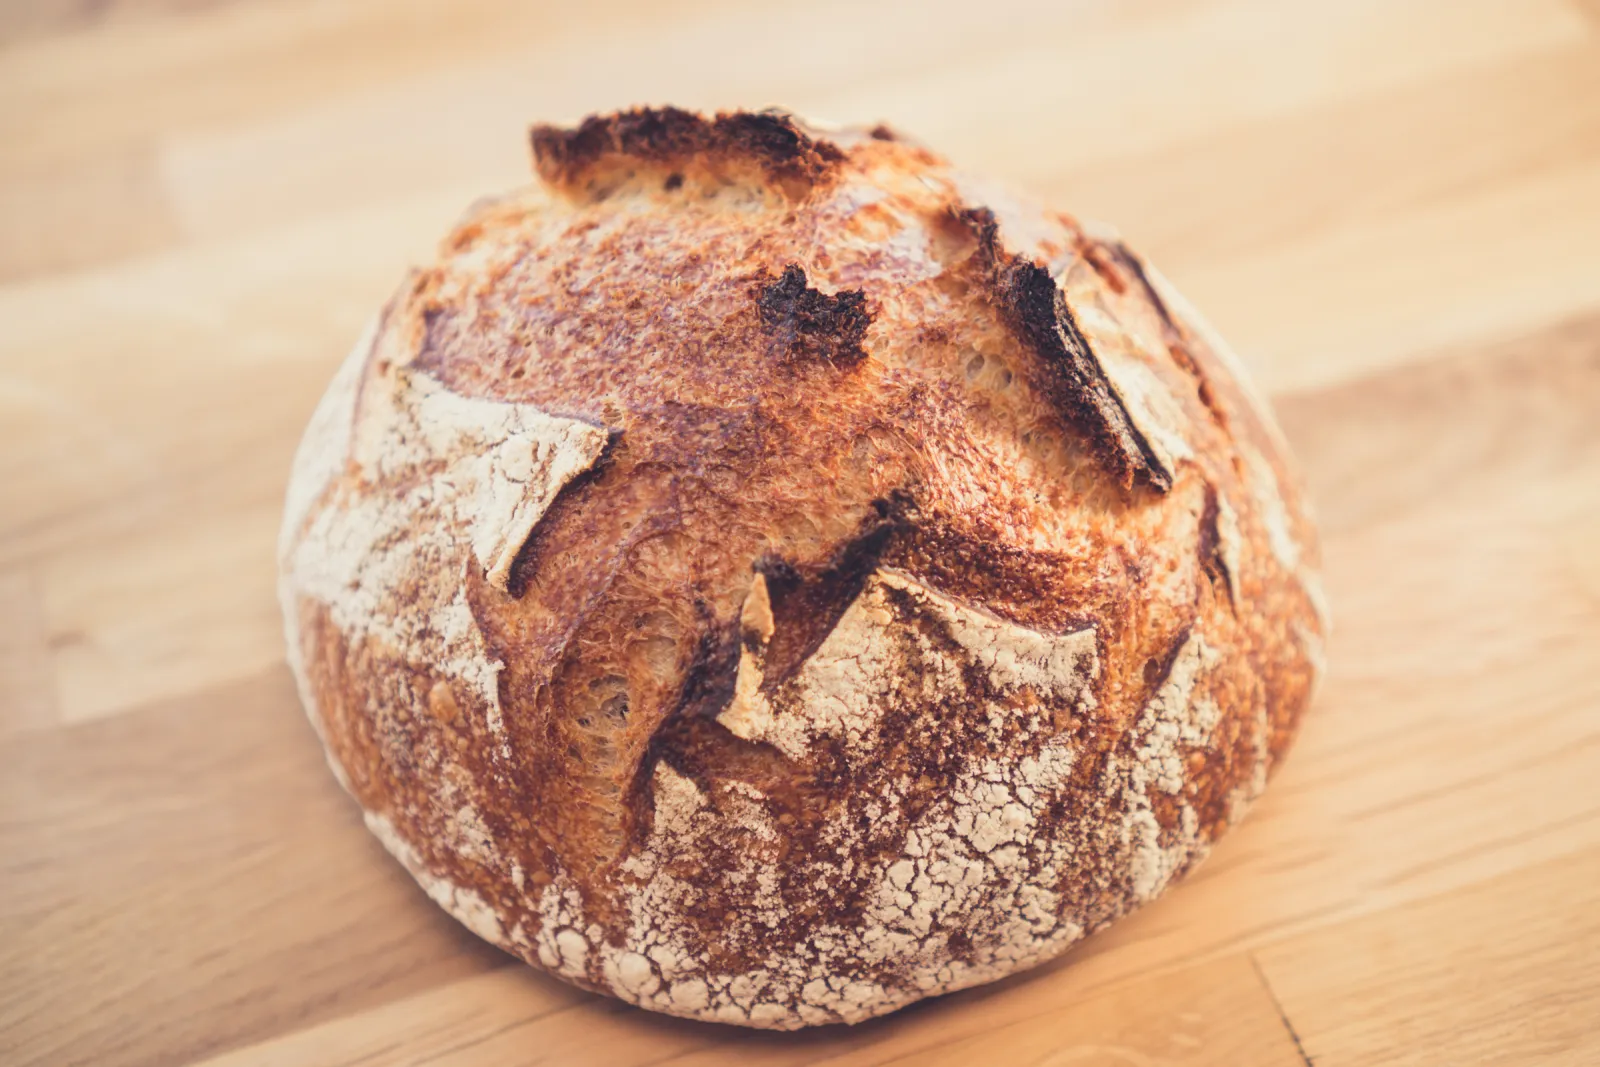
Flour, water and a pinch of salt creates this miracle
Difficulty: medium · Hands-on: 30 min · Waiting: 26 h
Cooking Bread is one of the most satisfying experiences in the kitchen. This ritual feels like modern alchemy where three simple ingredients are put together to create gold. Don't take me wrong, this process is not fast, but you'll end up creating such a fantastic loaf of bread, that you'll not be able to do this just once. But, what is sourdough bread?
In a nutshell, it's the result of cooking a combination of flour, water and salt after the dough has been aerated using natural yeasts.
Sourdough bread has one secret ingredient, time. This bread is what is called a slow fermenting bread, that means we'll allow to the microorganism and enzymes present in our dough to pre-digest it. The resulting loaf will have both a characteristic flavour and aroma.
Before getting technical, there are some controversial topics about bread which are critical to address.
Flour
You can use any kind (or any combination of) strong flours to make your bread. Flours are called strong when they are rich in proteins. Those proteins once hydrated will form gluten. The elasticity of gluten will hold the carbon dioxide released by our yeast creating bubbles, allowing our bread to rise. If you use any non-high-protein flour as your main flour, your dough will not rise much because the gases will escape.
That being said, it is common to use multiple flours to make bread. You can replace any proportion of the flour with any high-protein one, like for example Wholemeal, or a small part with a low-protein one (Rye, Rice, Corn, Malt, Chickpea, Spelt, Soy, Semolina, Barley, Oat, etc...)
The combination of flours will make your loaf rich in flavours and textures. There is not right or wrong, experiment and find your favourite combination.
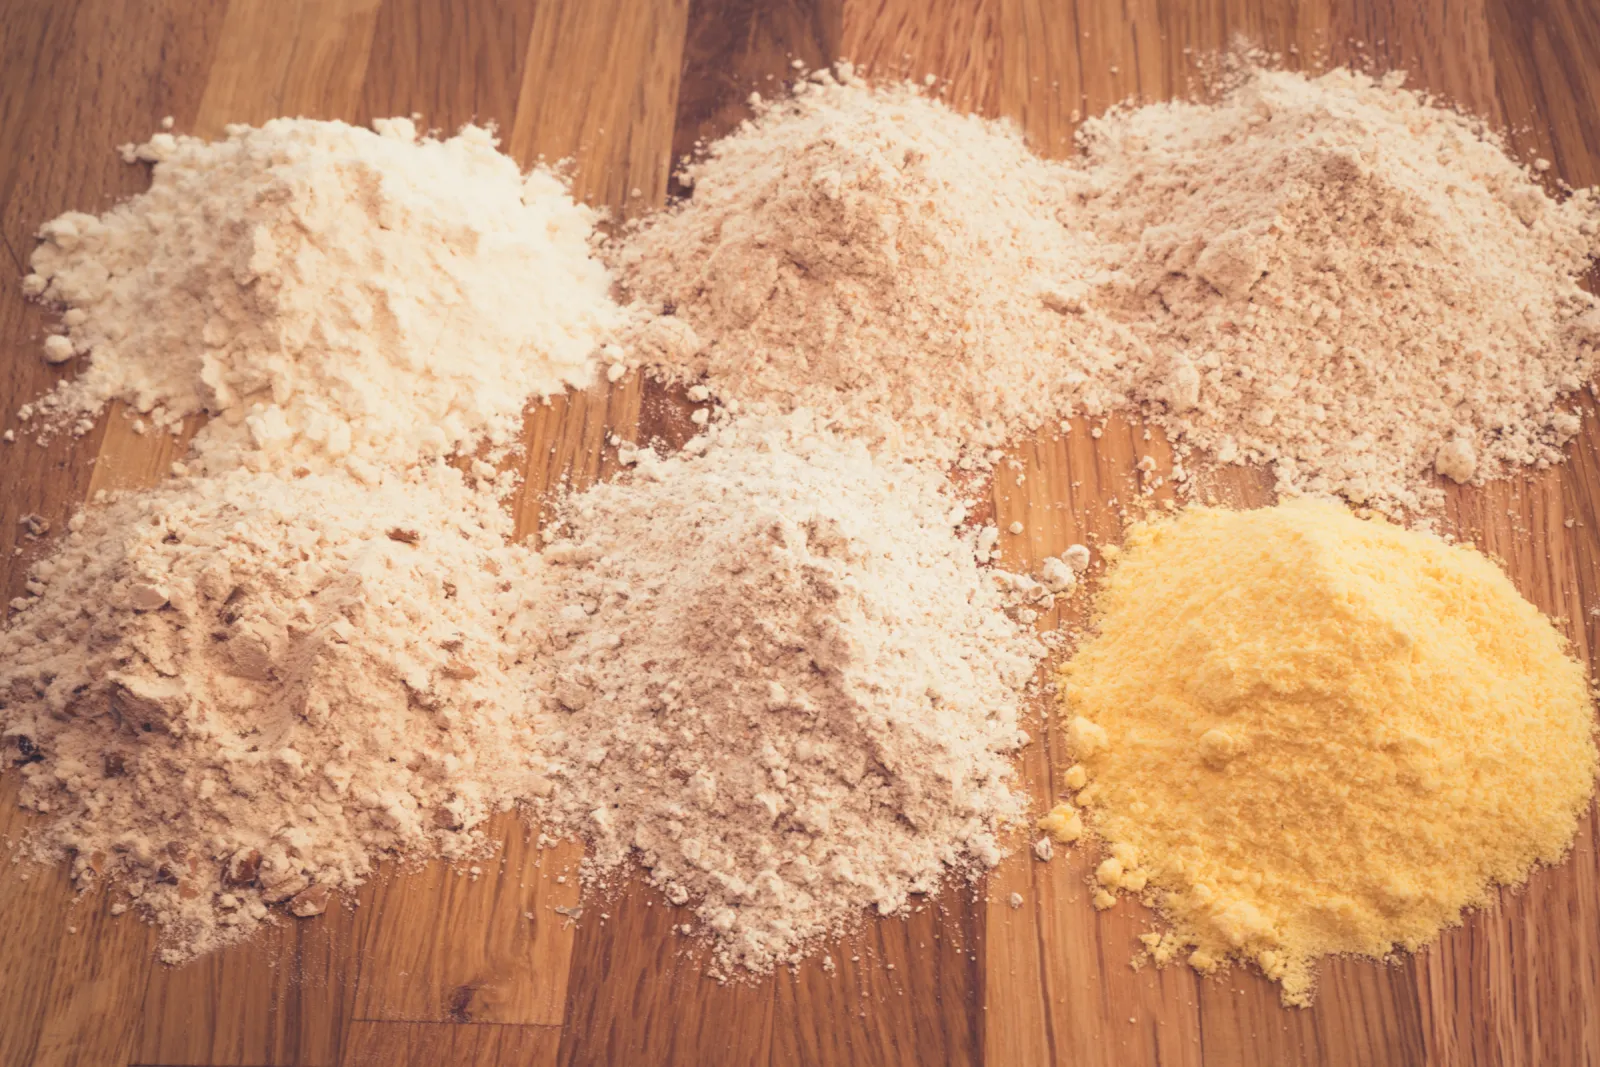
Flours: White, Wholemeal, Spelt, Malted Grain, Dark Rye; Corn meal
To Knead or not to Knead
For many, the very first thing that will cross your minds when somebody mentions bread making is kneading. But as you have probably heard, there are many people who claim to achieve excellent result not kneading their bread... so what is going on?
10-15m of kneading has the consequence of speeding up the development of gluten. Why? First, because you'll make your dough warmer, this higher temperature will stimulate the gluten formation. Second, the mechanical force used will stretch the gluten strands making them stronger.
So, it is required? No, not at all. As I mentioned before, time is the secret ingredient of sourdough bread. Once flour is mixed with water, gluten will develop regardless of kneading or not. It is a chemical process that we can't stop from happening, although we can slow it down by putting it on a fridge.
But this process takes time, and this is the reason why Sourdough bread is called a "slow fermenting bread". After mixing our ingredient we'll need to let our dough rest for extended periods of time in which several thing will happen:
Gluten will develop as the flour gets hydrated by the water.
We'll allow the yeasts present in our starter to have plenty of time to release carbon dioxide. They are not as active as the instant ones commercially available, so the extra time will play in our advantage.
The sour flavour and characteristic aroma we are looking for (thanks to the lactic-acid bacteria present in our starter) will develop and get intensified as time pass.
In summary, kneading is not required for making sourdough bread. The long fermentations will produce the same gluten development and several other advantages.
Folding
Folding our dough while the fermentation happens, will help the final bread to rise up to a 10-20% more. The reason is that those folds allow the gluten to stretch creating surface tension. That tension will help to keep all the gas released by our yeast and achieving great rises.
It is important for you to repeat this folding every 30m at least three times during the bulk fermentation to have a good elastic and smooth dough. Otherwise, the gluten strands will not be strong enough to hold the gas bubbles.
Precision
Precision is important but not critical. Yes, changes in the amount of water or flour will yield different breads, but not necessarily bad ones.
Bread making is surrounded by craziness about precision because consistent measurement tends to mean consistent results. The biggest problem with going crazy with the precision is that we'll fool ourselves into the belief that blindly following a recipe to the gramme will remove all possibility to fail. That believe will not develop in our heads the ability to react to different scenarios where things don't go to plan.
There are numerous facts which are hard/impossible to control in a domestic environment such as room temperature, humidity, starter activity, or flour strength.
Every day you cook bread, those variables will take a major role in how your dough develops, and it is important to learn how to read those signs the dough is sending to you, like: - I need a bit more water because the flour was for some reason stronger than expected, or... - You should let me rest a bit more, because I'm not ready yet. Those dough-reading senses can only be developed by practice.
So yes, follow the recipe, but be ready to adapt when something doesn't go to plan.
Extras
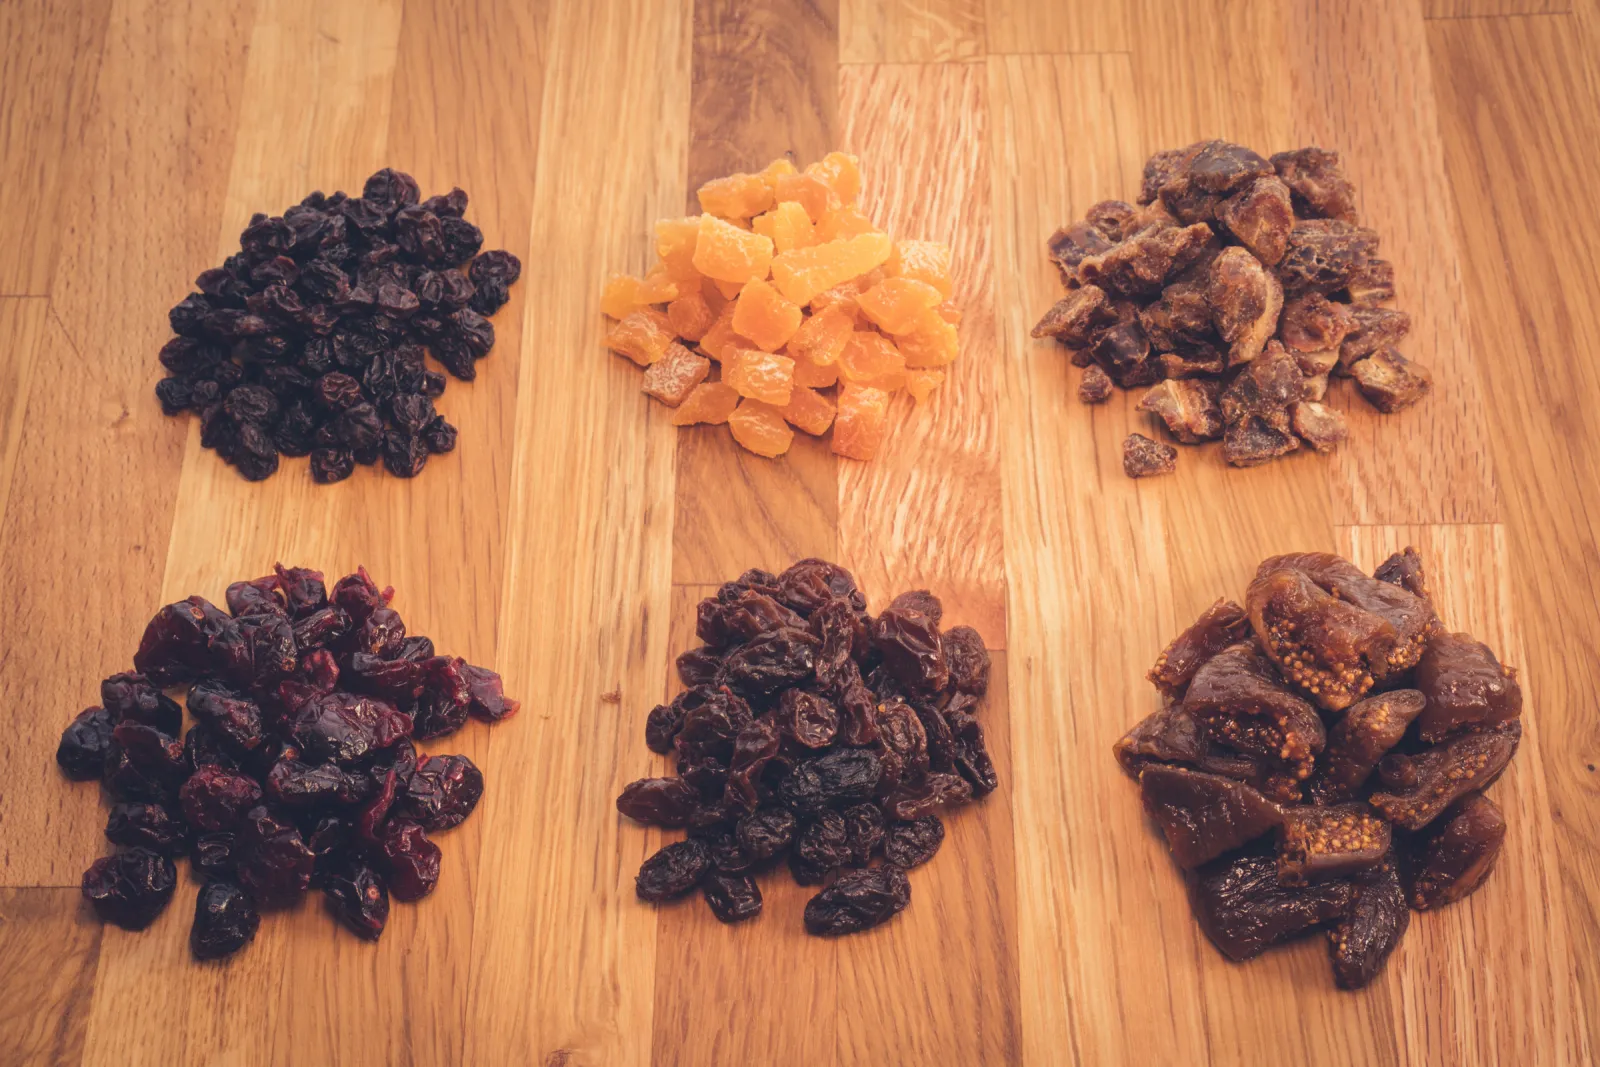
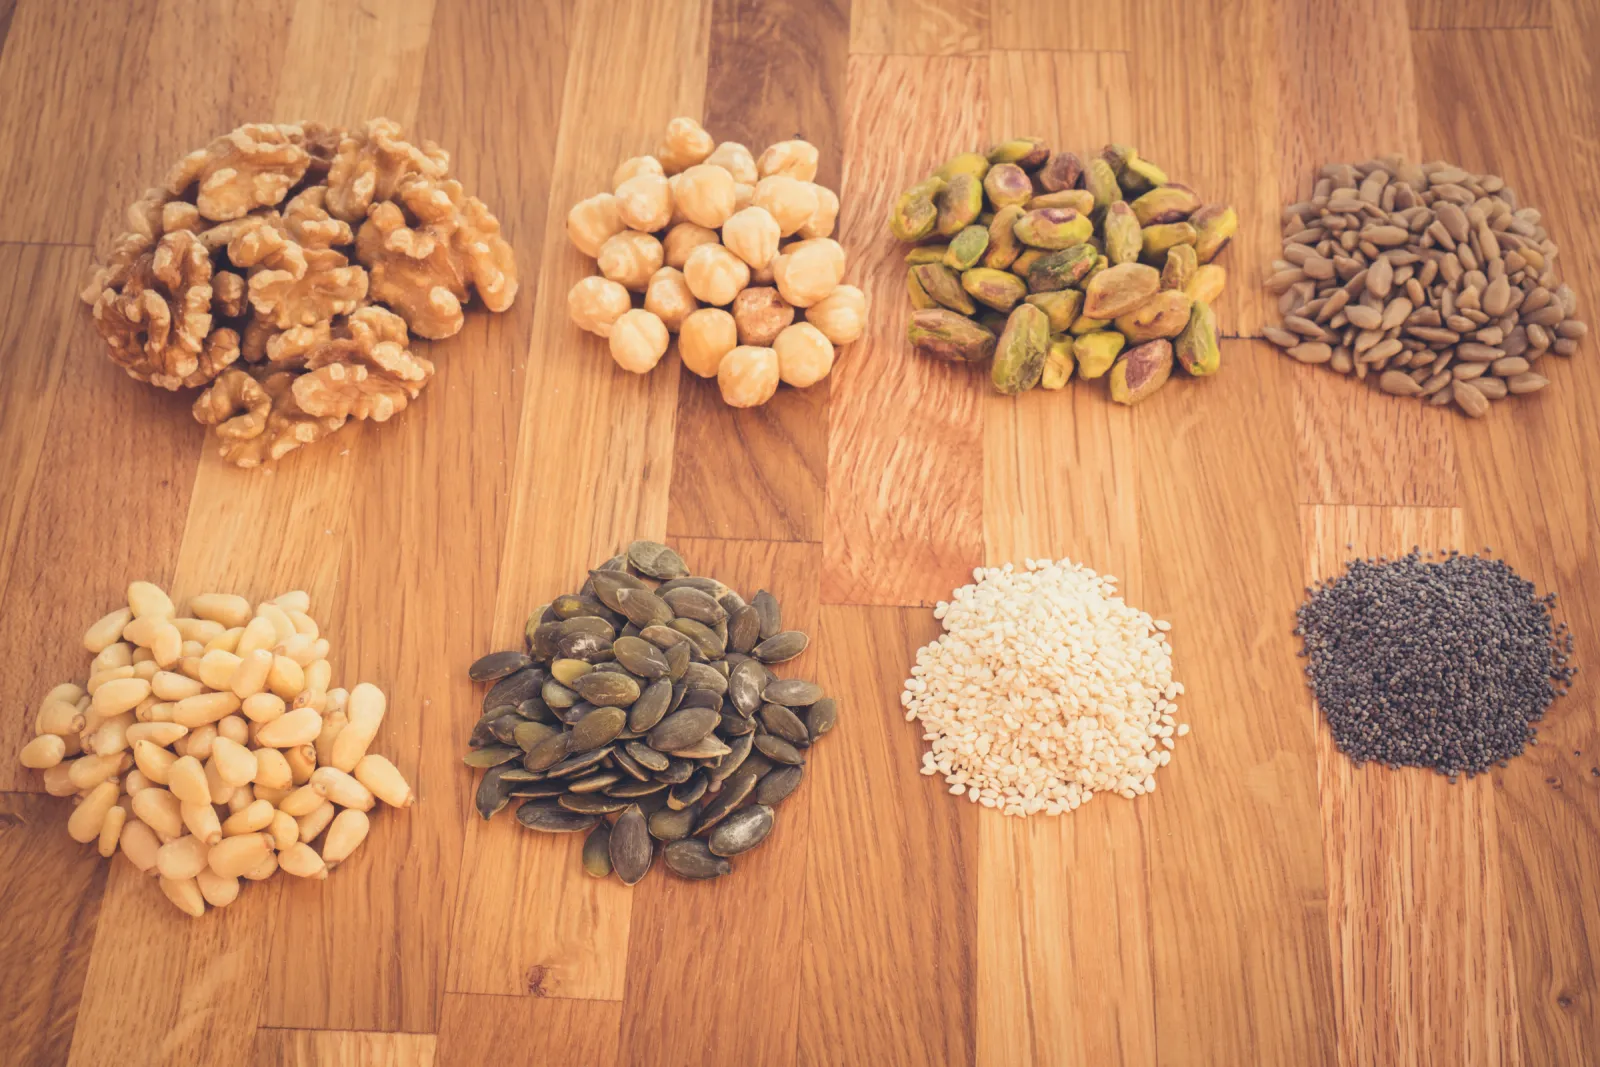
As well as cooking bread with different proportions of flours or hydration, I encourage you to try to add to your bread extra ingredients such as seeds, spices, nuts or dried fruits.
Some of those ingredients like nuts or seeds benefit from a light toast on a pan before incorporating them into your dough. Always remember to let them cool and dry before adding them.
Before getting our hands dirty, it is important that you understand several core concepts about bread making. Once you interiorize what is going on in your bowl and more importantly what we are trying to achieve with each of these steps, you'll be able to master bread making.
Hydration
This term refers to the proportion of flour to water our bread has. A loaf of bread with 50% hydration will use half the amount of water than flour, and a 100% hydration bread will use the same amount of water than flour.
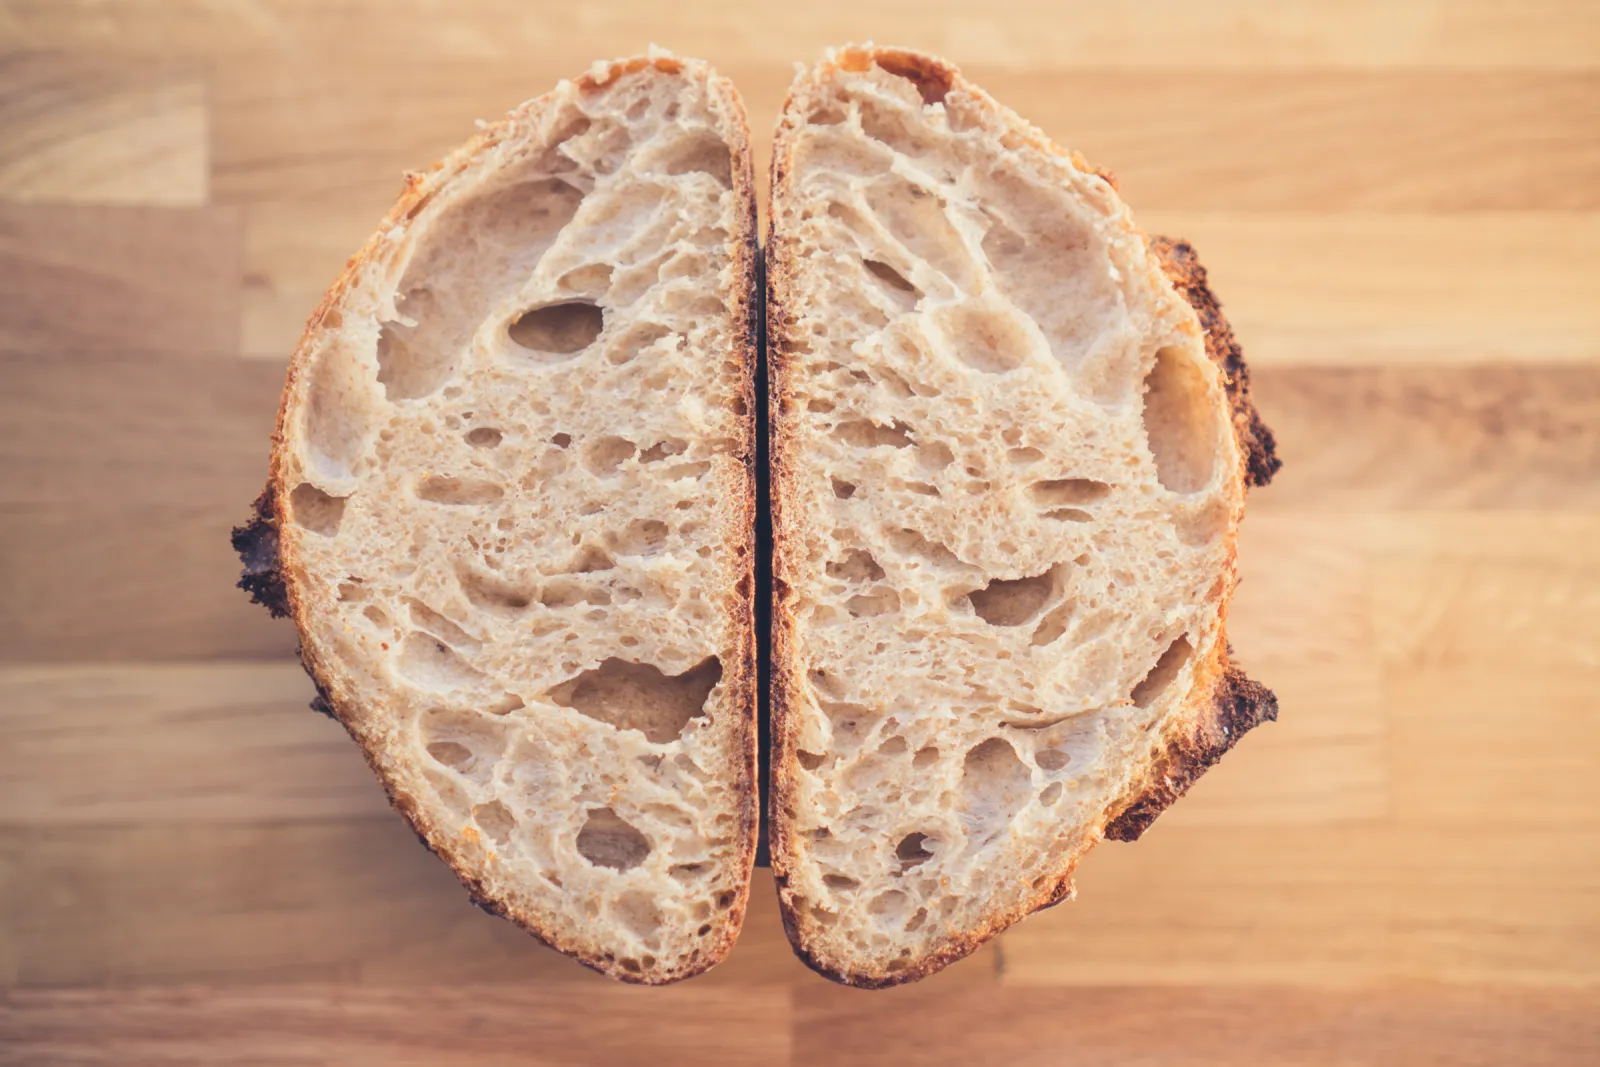
The higher the hydration we use, the bigger and more irregular the holes in our bread will be. Similarly, the higher the hydration, the harder it will be to handle our dough.
For people starting with bread making, I recommend starting with a fair but sensible hydration of around 70%. This will result in an excellent bread with high aeration while the dough will be relatively manageable during the process.
Fermentation
The presence of yeast and lactic acid bacteria in our dough will produce both physical and chemical changes. Chemical changes include the transformation of sugars in the bread into both carbon dioxide and ethanol as well lactic acid from the bacteria. These transformations will change the taste and smell of our bread in addition to making it more digestible and less perishable.
The side effect of the release of carbon dioxide is the formation of bubbles. Those bubbles will allow our bread to rise.
Sourdough Starter
Sourdough Starter is a pre-ferment of both water and flour in which we'll cultivate wild yeast and lactic acid bacteria. We have an in-depth article about how you can start your own starter. By keeping our starter alive by periodically feeding it, we'll able to create any amount of Levain in a few of hours.
Generally speaking, there are not many differences between levain and sourdough starter. This term is just part of the bread making jargon to define the fermentation of flour and water which is boost with an sourdough starter in order to have enough quantity so you can make the recipe.
Sourdough starter is typically fed with white flour to make it more versatile. For white bread, the flour in the starter and levain would be the same, but for some others, you might decide to create a levain which has an entirely different flour than your starter. An example would be a whole-grain bread; For this bread, you'll use whole-grain flour for your levain and incorporate a small amount of your (white) starter.
Levain = Sourdough Starter + Flour + Water + Time
Autolyse
This is the process in which we'll mix the flour and water in our bread, and let it rest for 30-60 minutes before mixing the levain and salt. This process will help improve the shape and structure of the gluten in our dough by letting the flour hydrate with no salt present.
Autolysed Flour = Flour + Water + Time
Bulk fermentation
Bulk fermentation is the process in which we let all ingredients in our bread (Levain, Autolysed flour, and salt) to ferment after mixing them together. This process is essential to develop the flavour of the dough, as well as its final texture. During this process your dough should almost double in size.
Bulk fermentation = Levain + Autolysed Flour + Salt + Time
Proof
Proofing is the process in which we let our already shaped loaf rest in a container. During this last rest, the fermentation will continue, and our bread will do its final rise.
If we keep the dough in a fridge during this process, we'll slow down the proofing. This is interesting to better control when we have time to bake the bread, as the duration of this rest can be adjusted as needed. As always remember that longer fermentation equals to more flavour in the final dough.
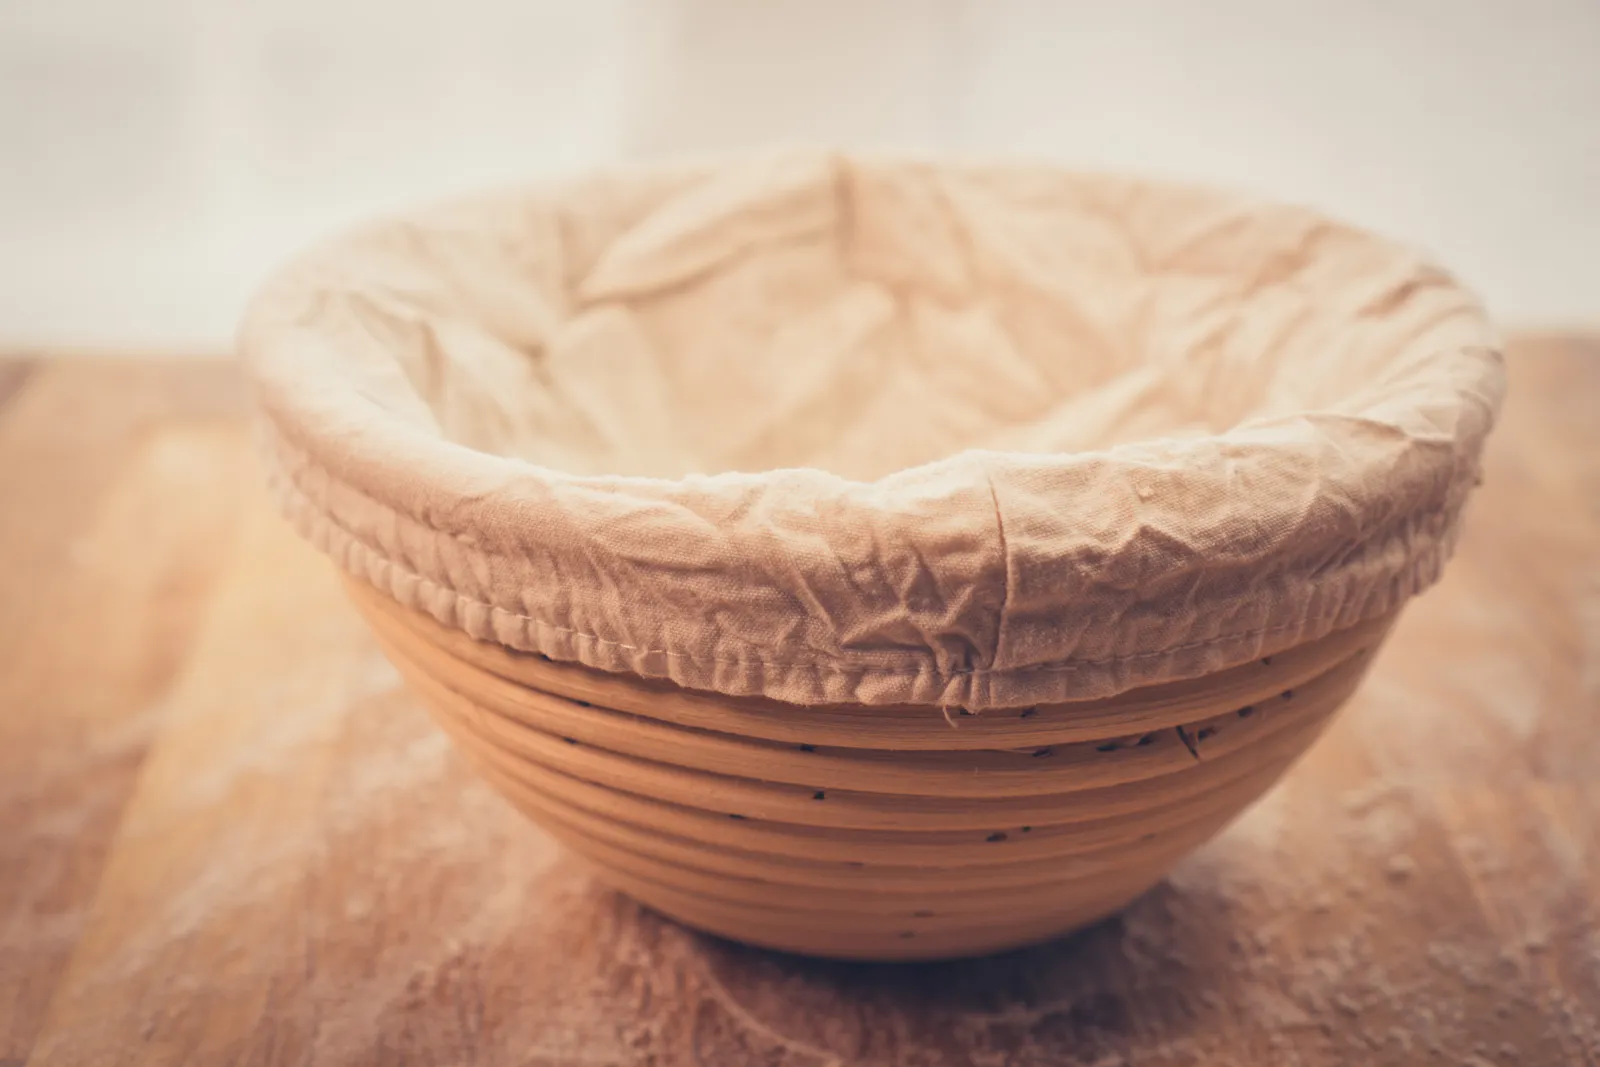
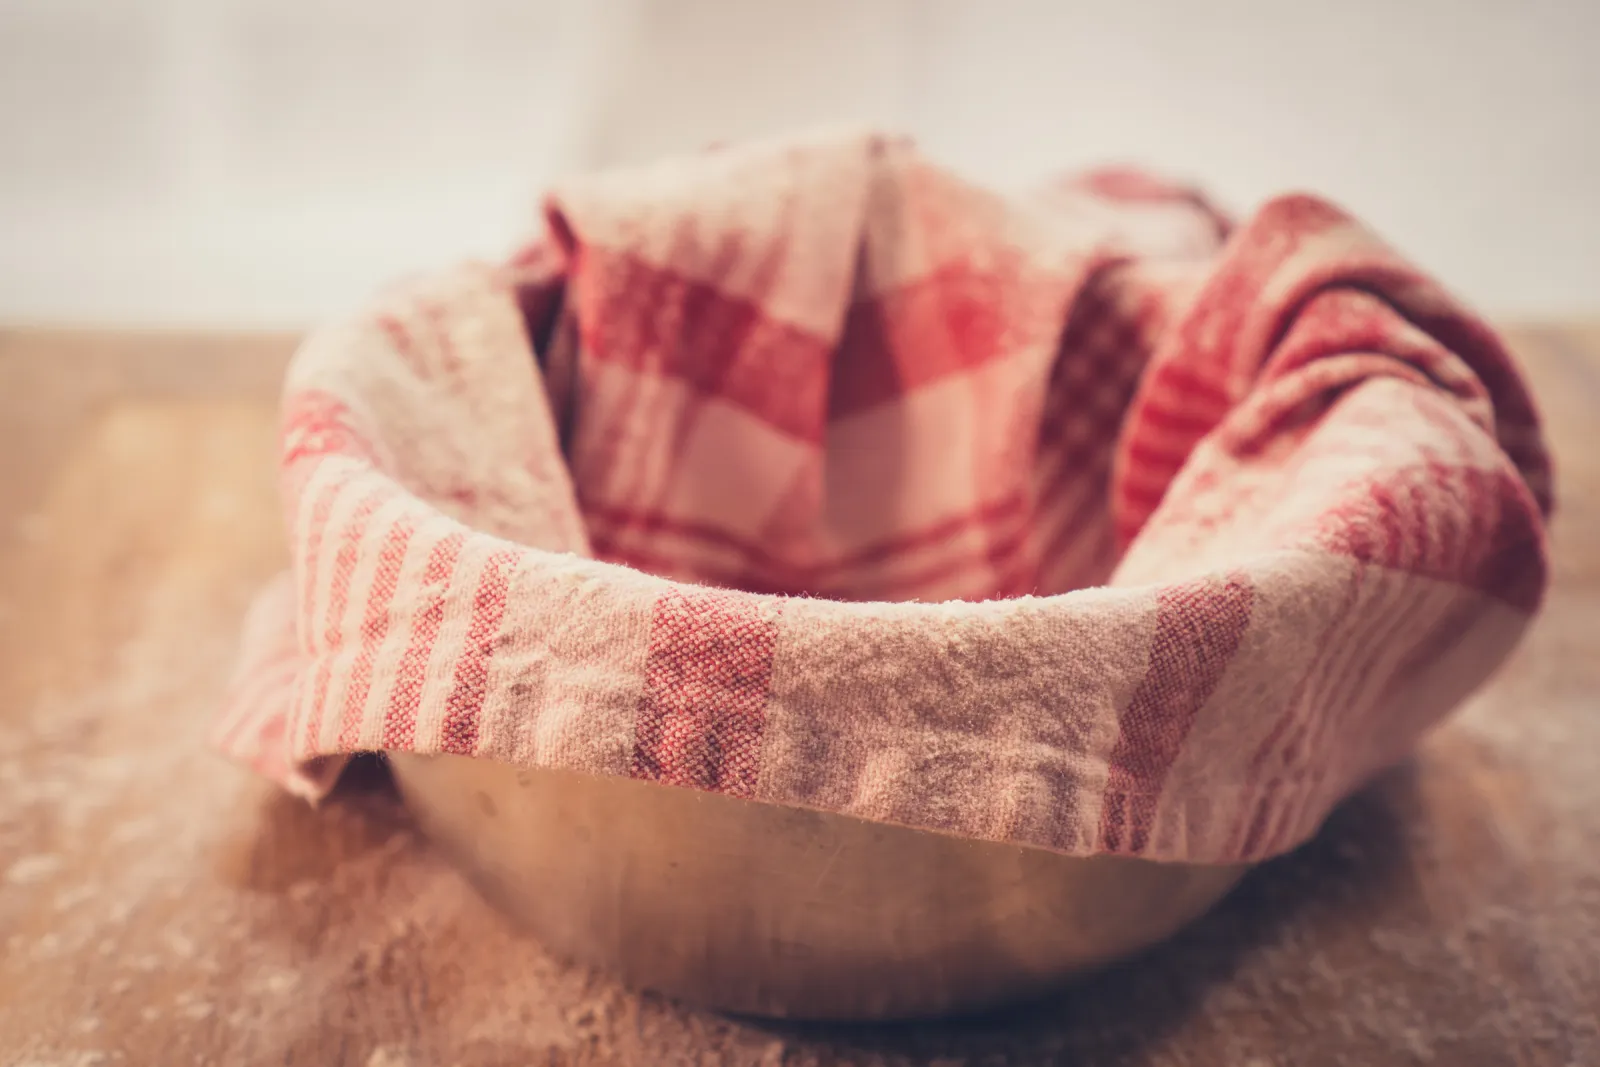
If you have at hand some linen covered baskets, those would beautifully shape your bread. If you don't have any of those at hand, a bowl covered with a cloth will do as well. Always remember to generously cover them with flour.
Linen proofing basket; Bowl covered with a kitchen towel.
Baking
There are two major things we need to have control in our oven while our bread is cooking: temperature and humidity. Professional ovens can control both and re-adjust themselves almost instantly to variations. Unfortunately, we don't have one of those at home.
A constant and high temperature will make our bread puff and get a pretty uniform golden colour.
Because we don't have professional ovens at home, every time we open the door, the temperature will drop dramatically. Putting either a Firebrick or Cast Iron Baking Stone inside your oven, will allow the temperature to recover almost immediately once it drops after opening the door.
I encourage you to get one of those and leave them at the bottom of your oven permanently. You will make any oven 100 times better with not a huge investment, and you'll be able to cook great pizzas as well!
Humidity during the first 30 minutes of baking will determine the thickness and consistency of our crust. Controlling humidity is rather hard, so in my experience the easiest way to achieve excellent results is to use what is called a "Dutch Oven". The thick cast iron walls and the tight cover will make all the steam released by the dough stay close to it and develop the crust.
That being said, if you don't have access to a dutch oven, you can rise the humidity by spraying water to your oven walls or by putting a baking tray with hot water at the bottom.
Schedule
This is the schedule we'll need to follow. Remember that you can adjust the final time to get an updated plan.
Day 1 · 11:00
Levain
3 h
Day 1 · 14:00
Autolyse
1 h
Day 1 · 15:00
Bulk Fermentation
5 h
Day 1 · 20:00
Proof
16 h
Day 2 · 12:00
Bake
1 h
Total
26 h
Step by step
Prepare the Levain
In order to make bread, the very first thing we need to prepare is enough Levain for the amount of bread we are cooking. To do so, mix in a container the Sourdough starter as well as the water and flour indicated for your levain. Dissolving your starter into the water before incorporating the flour will make your life easier.
Cover it, and let it rest at room temperature for approximately 4 hours. The levain will look bubbly and will have rise once it is ready.
Prepare your levain by mixing your starter, water and flour.
Autolyse your flour
Mixing your flour and water around 1 hour in advance of using it will start the autolyse process of the flour. Put all the flour and water in a bowl and mix well. Once all the flour is incorporated, cover it and let it rest next to the levain. You'll know is ready once it looks like a uniform elastic and sticky dough.
Autolyse: Flour + Water + Time
Mix Dough
Incorporate the levain, autolysed flour and salt. Mix until you have an uniform dough. If the dough feels too dry, you can correct the amount of water on it. Never add extra water until you have not finish incorporating all the ingredients as the dough texture will change dramatically once is all mixed.
If your bread has some extra ingredients like seeds, nuts or spices save them. We'll incorporate them during the bulk fermentation.
Incorporate all the ingredients to create your final dough
Let the bowl covered at room temperature for approximately 4 hours, until the dough is elastic and smooth. In a warm environment this process will take less time.
Bulk fermentation time
Now that we have all the main ingredients incorporated into one dough, we need to let it rest and ferment for approximately 4 hours at room temperature. During this time remember to repeat the folding routine every 30m until the dough feels elastic (three to four times). At the end of the bulk fermentation our dough should feel smooth and aerated. If that is not the case let it rest for longer (up to 6 hours).
If you wet your hand with water before doing those folds, the dough will not stick to your hands.
After wetting your hands in some water, fold your dough from the exterior to the interior stretching it and creating tension.
Divide and shape
At this point, your dough should feel smooth, aerated and elastic. In this step, we'll divide our dough into as many smaller portions as we want, and let them rest in containers, so they hold that shape.
Once you have an individual portion and using a slightly floured surface, fold the dough forming a ball. Finally, add surface tension by pushing the ball in all directions against your surface. Let the dough rest upside down in a generously floured container.
Forming individual doughs adding enough tension, so they puff.
Proofing
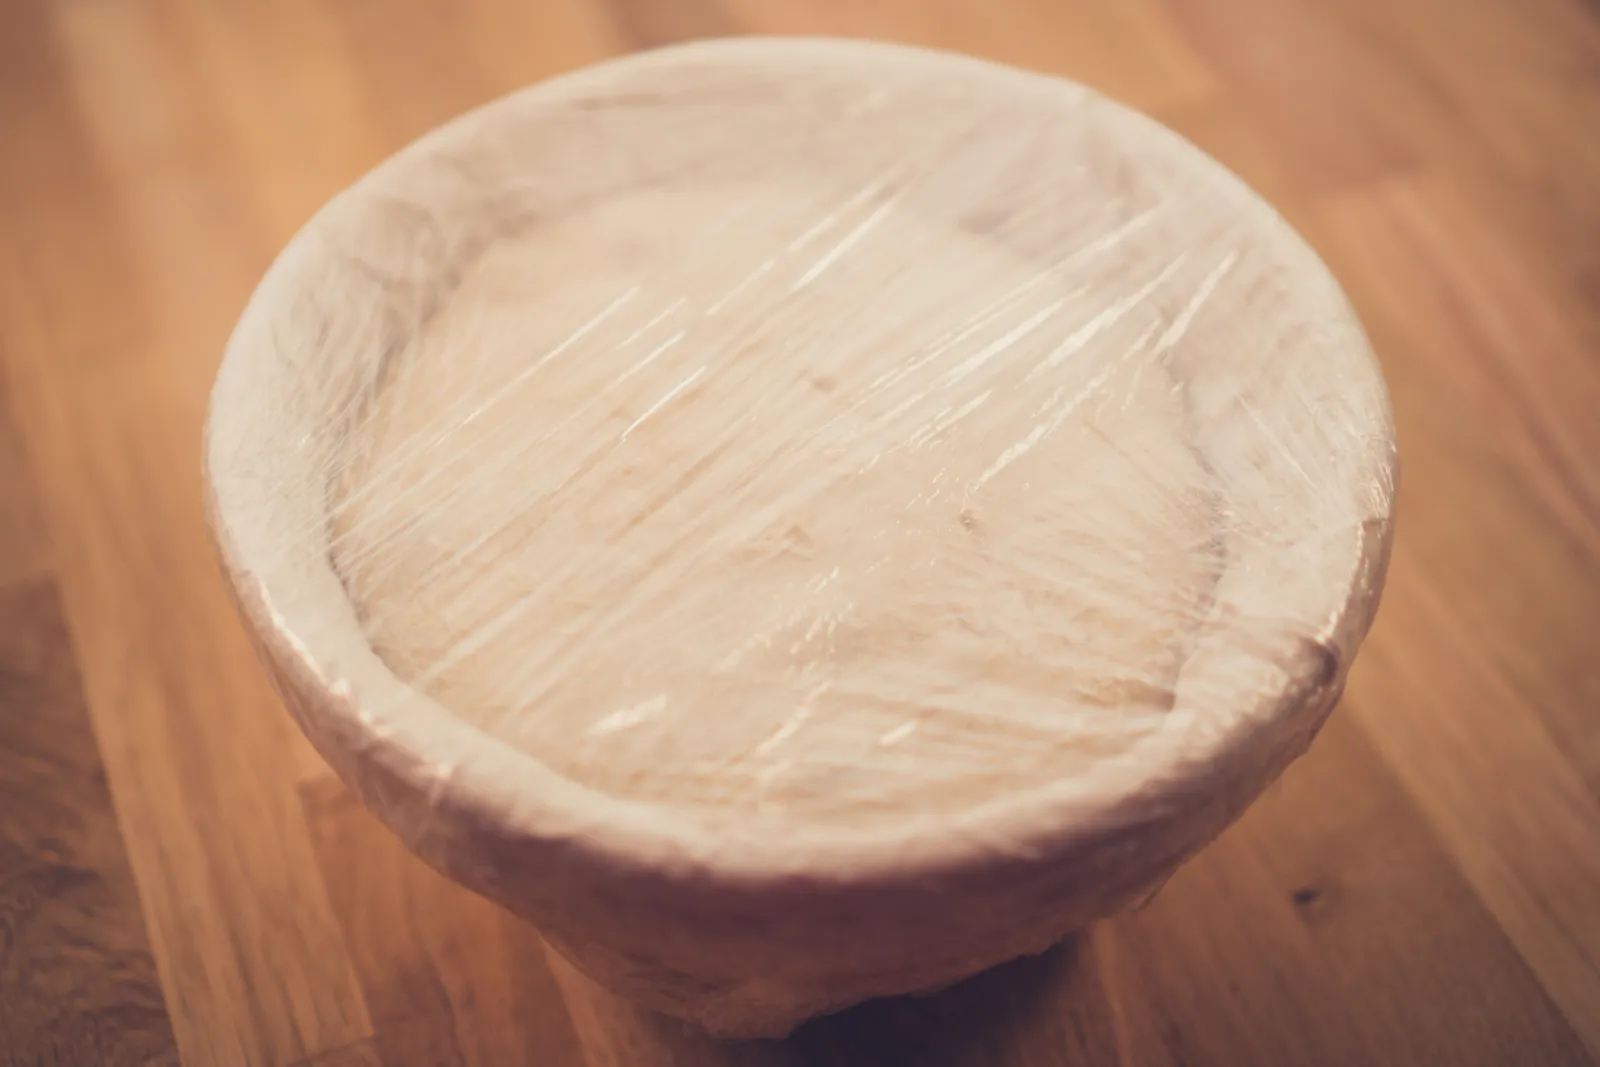
Generously cover your containers with plastic and let them rest at room temperature for approximately 30m before putting them in the fridge for 12-18 hours. During this process, the dough will relax, expand and take the shape of the basket. This long and cold fermentation will boost the flavour and smell of your dough even further.
Technically speaking 12 hours should be enough, but remember that this is the step duration we can adjust based on our needs. Because of the cold temperature, all reactions in our dough will slow down dramatically, so letting it proof for longer (up to 24h) would yield great results.
If you leave your dough for too long, you risk on over-proofing it. As a result it will become way flatter than expected as the gluten structure will have collapsed.
If you don't want to use your fridge, you can let the dough proof at room temperature for approximately 4-6 hours until the surface springs back if pressed with a finger.
Proofing bread at room temperature
Baking your bread
One hour before baking our bread, turn your oven to its maximum power (250°C).
Once the oven is hot, remove your dough from the proofing container and place it on top of slightly floured surface. Score it with a sharp knife or razor. Helping yourself with a spatula, put the dough inside your preheated dutch oven or directly into the hot baking tray.
Score your bread using a sharp knife or razor; Using a spatula transfer your dough into your dutch oven, or directly into the hot baking tray.
If using a dutch oven, remember to put the lid back on, so the steam stays close to the dough. If not, spray the walls of your oven with water several times, so steam is released. Otherwise, leaving a container with water at the bottom of your oven will do the trick as well.
After 30 minutes, reduce the temperature to around 220°C and cook for further 30 minutes. If you are using a dutch oven, remove the lid, so we stop the crust from developing further and remove the container with water if using one.
Bread after 30m cooking
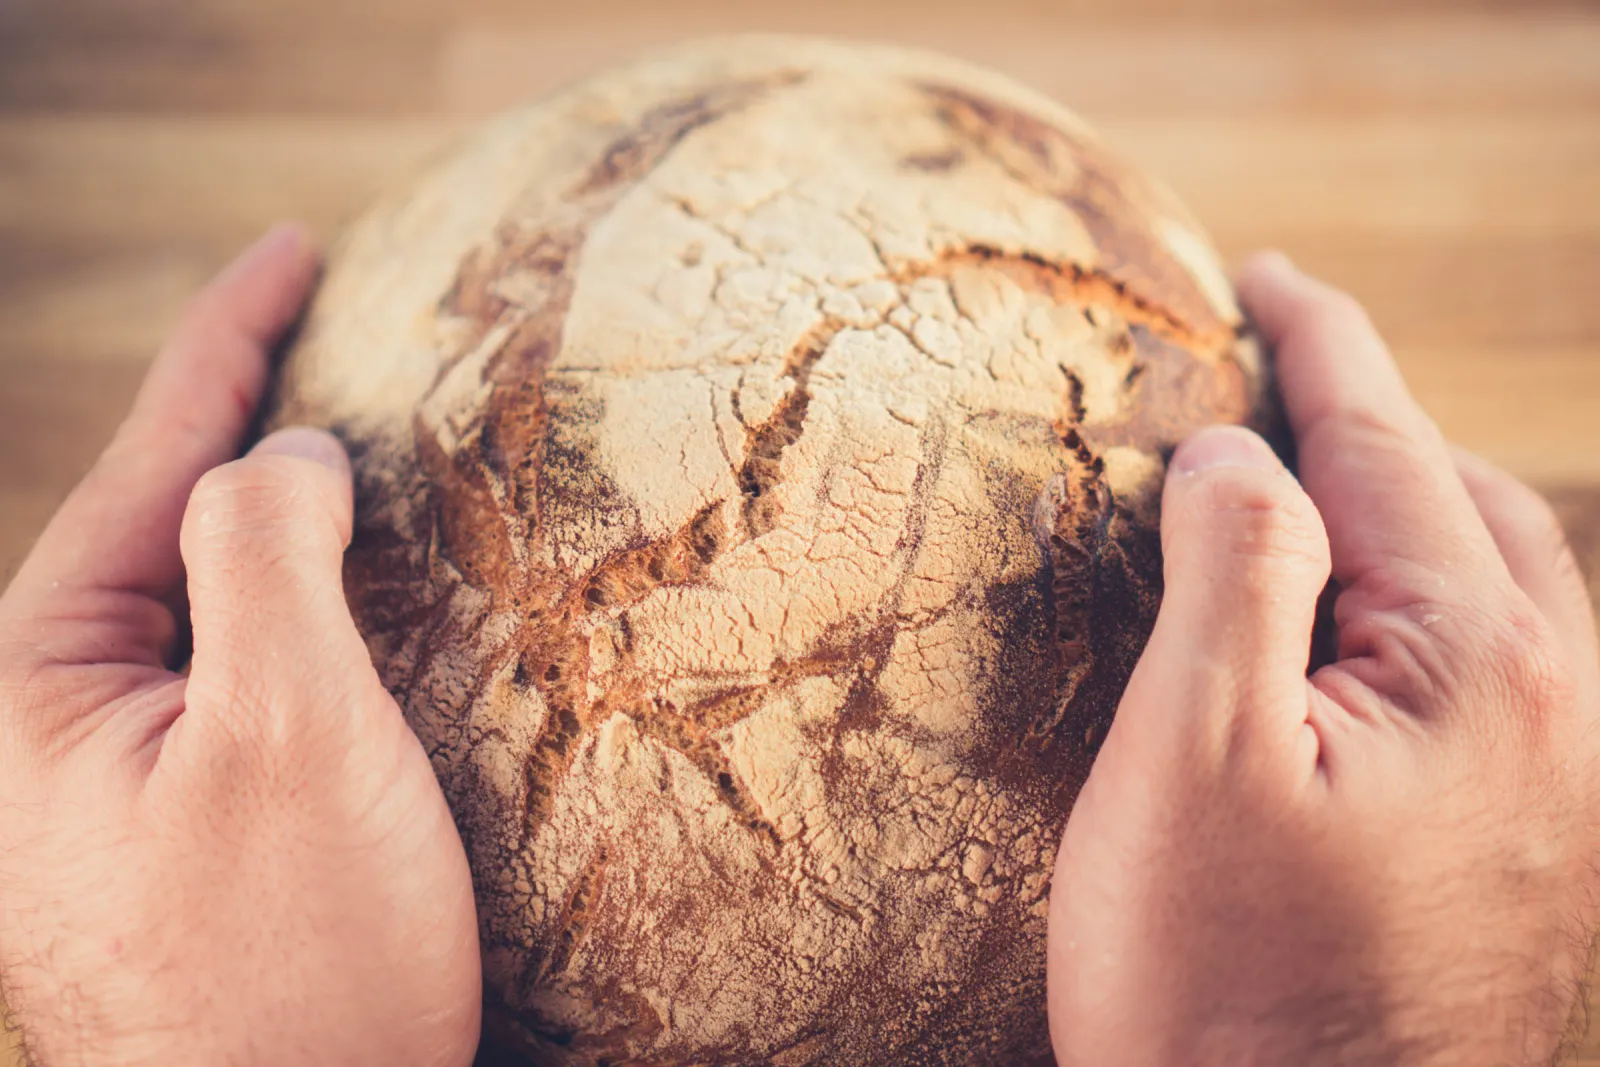
Cooking times are approximate for a 1kg loaf. If you are cooking a smaller loaf, adjust those times, so you don't carbonise your bread, conversely, if your loaf is bigger than 1kg, you might need to extend the second step even further. You'll know the bread is done when it's golden brown and tapping its bottom sounds hollow like a shoe box.
Let the bread cool completely before slicing. Enjoy!
Final bread
Conclusion
There is something magical about creating something from nothing. It is hard to explain, but expending an afternoon in the kitchen patiently waiting for your dough to raise is almost therapeutic.
Yes, it takes a bit of time... but the resulting bread will be so amazing, that it is worth every single second it takes.
Here you have some of my favourite recipes, but remember that you have learned the foundations that will allow you to create your own recipes.